Before we continue, this is for people not using WooCommerce. If you’re using WooCommerce, you might as well utilize their frontend profile editing features.
We cover that in our: Why the LearnDash “Edit Profile” link doesn’t work, and how to fix it article.
If you’re not using WooCommerce, and are using some other system for selling courses (or perhaps not selling courses at all)…
Installing WooCommerce just to get their frontend profile editing features is like getting a Tesla just to play video games.
Massive overkill!
Instead, we’re going to use another plugin with a more specific scope called Profile Builder.
Step #1: Install the plugin
Before we continue, it’s important to note that this tutorial is more about a high-level concept rather than a prescription to use a specific plugin.
If you have a preferred “frontend profile editing” plugin for WordPress, feel free to use that. Just as long as you can plop in on a page with a shortcode, you should be able to follow along just as well.
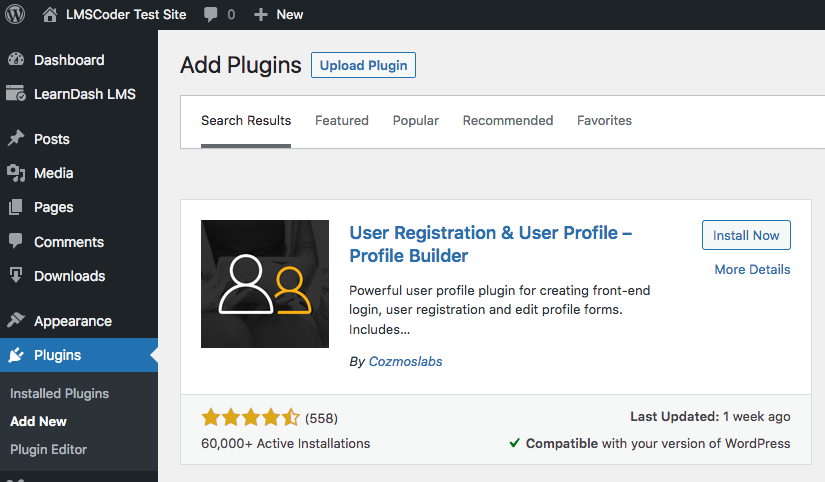
Anyhoo, install Profile Builder it however you prefer to install free WordPress plugins hosted on WordPress.org.
For example, in your WordPress backend:
- Go to Plugins -> Add New
- Search for “Profile Builder”
- Click “Install” and then “Activate”
Adding the free Profile Builder plugin for WordPress.
Pro Tip: The Profile Builder plugin does have some premium upsells. You may consider them, although they will not be necessary to achieve the specific use case detailed in this tutorial.
After activating the Profile Builder plugin, we’ll be greeted with an onboarding page.

Profile Builder onboarding with shortcode highlighted
On that page, you’ll see the [wppb-edit-profile] mentioned. Take note of that! We’ll be plopping it on the page we’re about to create.
Step #2: Make a new page called “Edit Profile” and add a shortcode
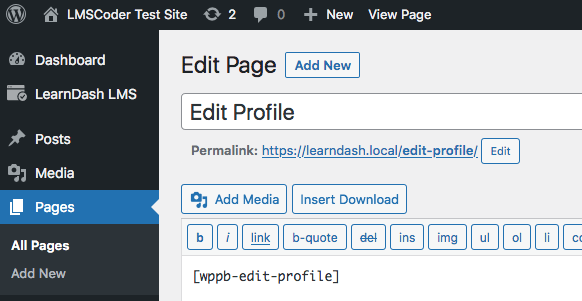
Go to Pages -> Add New to make your page which will house the [wppb-edit-profile] shortcode.
Backend view of our new “Edit Profile” page.
I will name the page “Edit Profile” and it will be accessible at the following URL: https://learndash.local/edit-profile/
You may call it whatever you want, and at whichever URL you want, just remember what the URL is for Step #4 below.
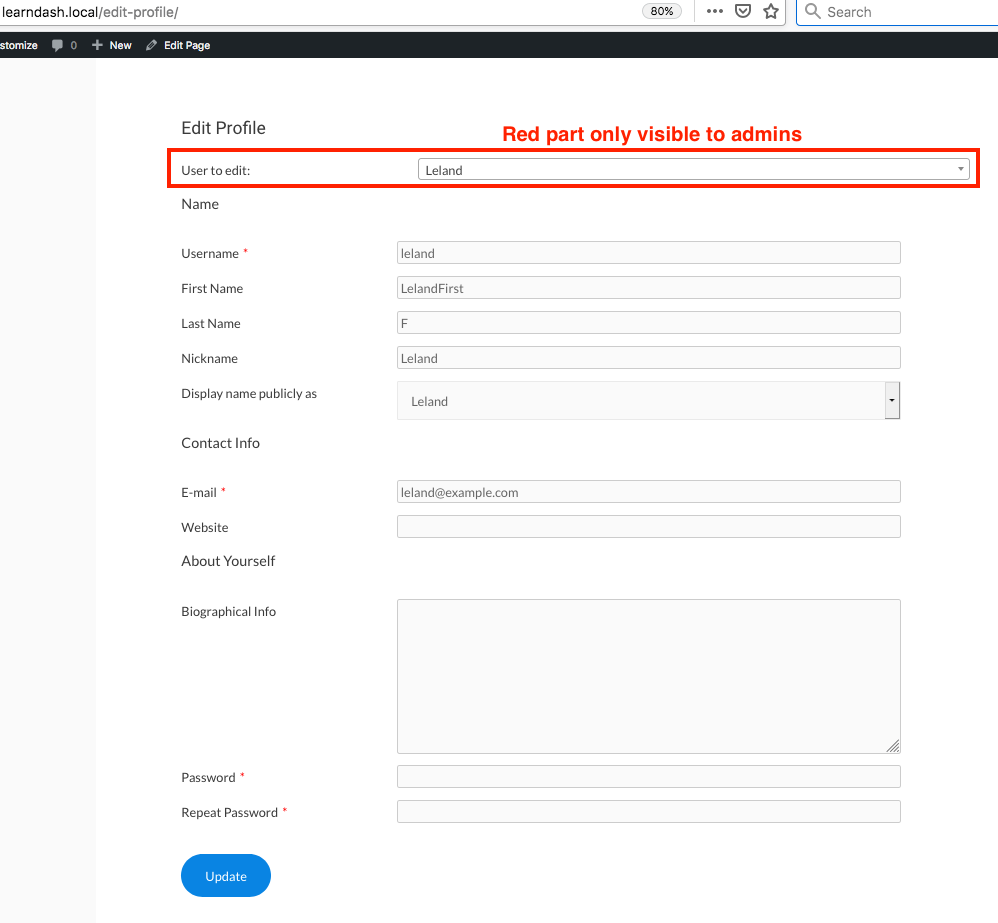
At this point, you have a fully functional “Edit Profile” page all by simply activating a plugin, doing zero configuration, and adding a shortcode to a page.
Admin view of frontend edit profile page
Note that the “User to Edit” portion is only available to WordPress admin users.
Step #3: Maybe delete some fields in your new frontend edit profile form
You’ll see that the form has all of the same fields as the WordPress. Some of these may not make sense for your use case.
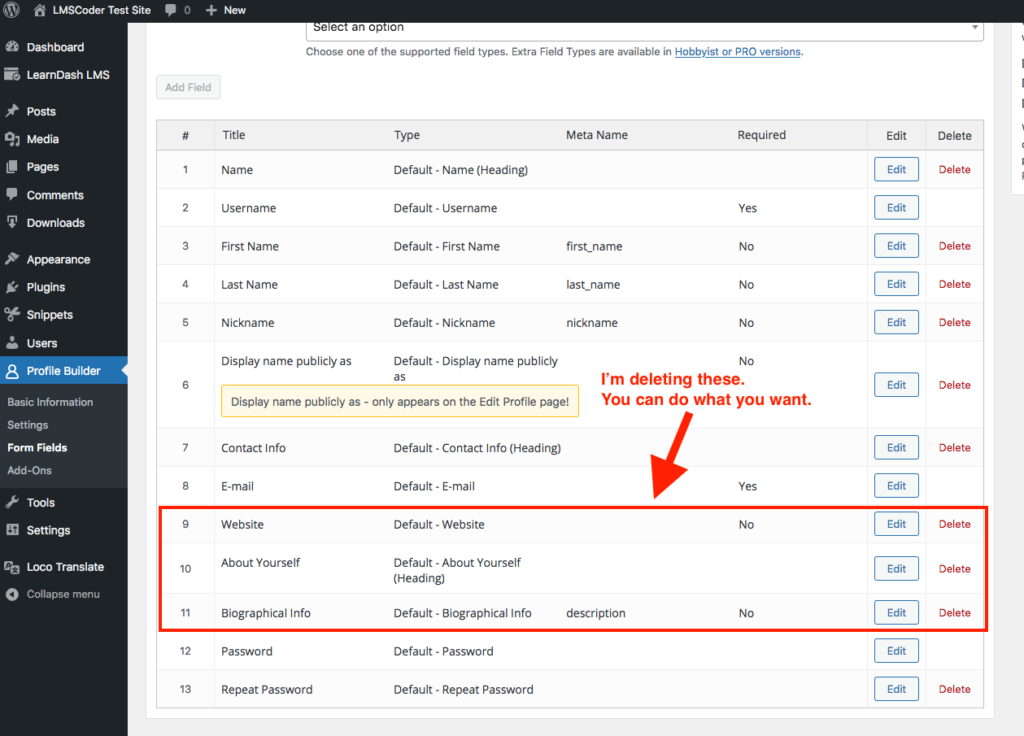
You may edit or delete fields in your Edit Profile form.
It’s up to you, although in my test case I decided to remove “Website” and “Biographical Info” since I don’t plan on doing anything with that information.
Step #4: Edit the “Edit Profile” link
At this point, we have a functional frontend edit profile page.
However, if a student clicks the “LearnDash” Edit Profile link (really, the WordPress edit profile link) they’ll still be directed to the backend of WordPress.
We’ll need to edit the “Edit Profile” link, which can be done with a simple code snippet.
As per Step #2 above, my Edit Profile page is accessible at the following URL: https://learndash.local/edit-profile/
I will modify a snippet I have previously published on the LearnDash BitBucket accordingly.
add_filter( 'get_edit_user_link', 'lmscoder_edit_edit_profile_link' );

function lmscoder_edit_edit_profile_link( $url ) {
	// Check to see if user can edit_users, if not, return a different Edit Profile link
	if ( ! current_user_can( 'edit_users' ) ) {

		// Replace the below URL with your custom front-end "Edit Profile" page
		$url = untrailingslashit( get_home_url() ) . '/edit-profile/';
	}

	return $url;
}
As always, refer to our guide on adding PHP code snippets to your WordPress site if you’re unfamiliar with the process.
A few notes:
-
I’m using WordPress core’s get_home_url function instead of hardcoding my site URL. This will make it easy to copy over the snippet to other WordPress sites with no changes (assuming the
/edit-profile/slug is used consistently). -
I don’t know off the top of my head if the get_home_url function has a “trailing slash” or not. I don’t care, because the untrailingslashit removes it no matter what.
-
This means I can rely on the
$urlvariable always returning something likehttps://example.com/edit-profile/and NOThttps://example.com//edit-profile/(note the gross double slash) which wouldn’t be the end of the world, but also not good.
Step #6: Hide the admin bar
At this point, users can edit their profiles on the frontend.
However, they can still see the WordPress admin bar, and also edit their profiles on the backend.
If you’ve gone through all this trouble to make profile editing possible on the backend, you might want to consider hiding the admin bar.
There are handy plugins like Hide Admin Bar that help with this, although there is a feature in the Profile Builder plugin we have installed, so we’ll just use that.
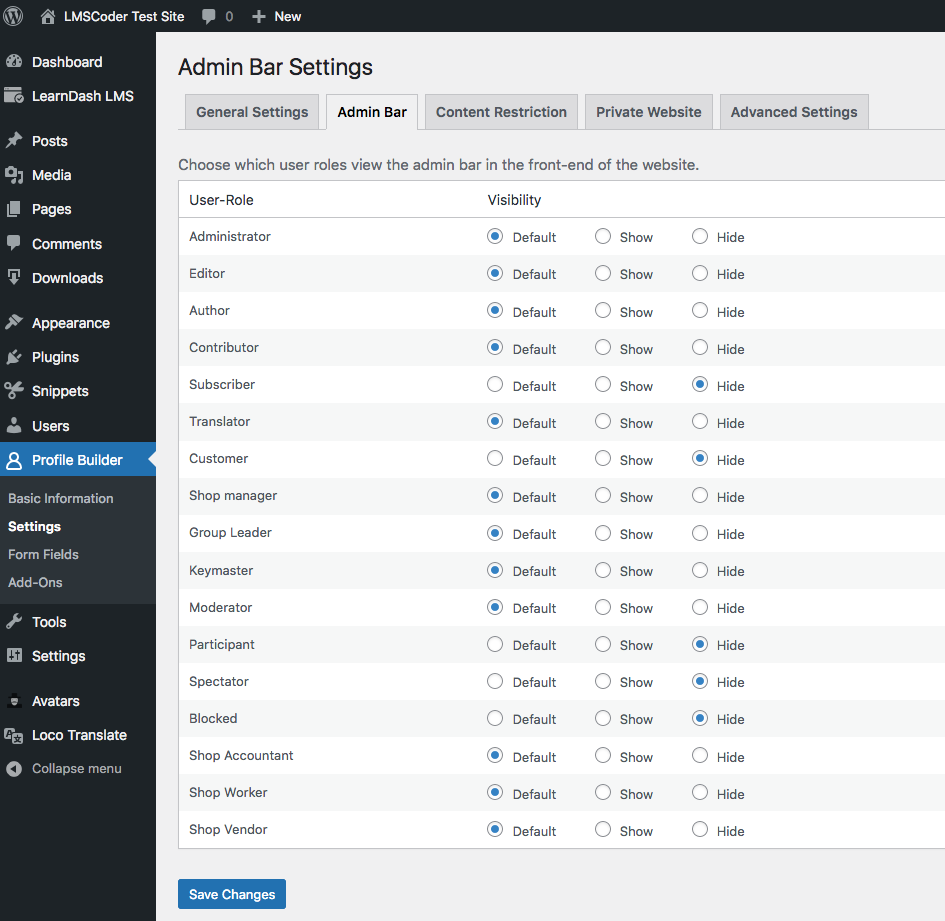
Select the user roles you do not want to show the admin bar to.
The roles you have on your WordPress site might vary, although “subscriber” and “customer” are probably two you want to hide the admin bar from.